
how to sharpen wood gouges at home comes down to one thing: recreating a consistent edge that matches how you actually use the tool, not chasing a mirror polish for its own sake.
If your gouge is suddenly leaving fuzzy cuts, requiring extra force, or skating across end grain, it’s rarely “bad wood.” It’s usually a dull edge, a rounded bevel from inconsistent sharpening, or a burr that never got removed.
This guide walks through realistic home setups, from sandpaper-on-glass to bench grinders and honing, plus a quick way to diagnose what your edge needs before you remove more steel than necessary.
What “sharp” means for a wood gouge (and why it feels different)
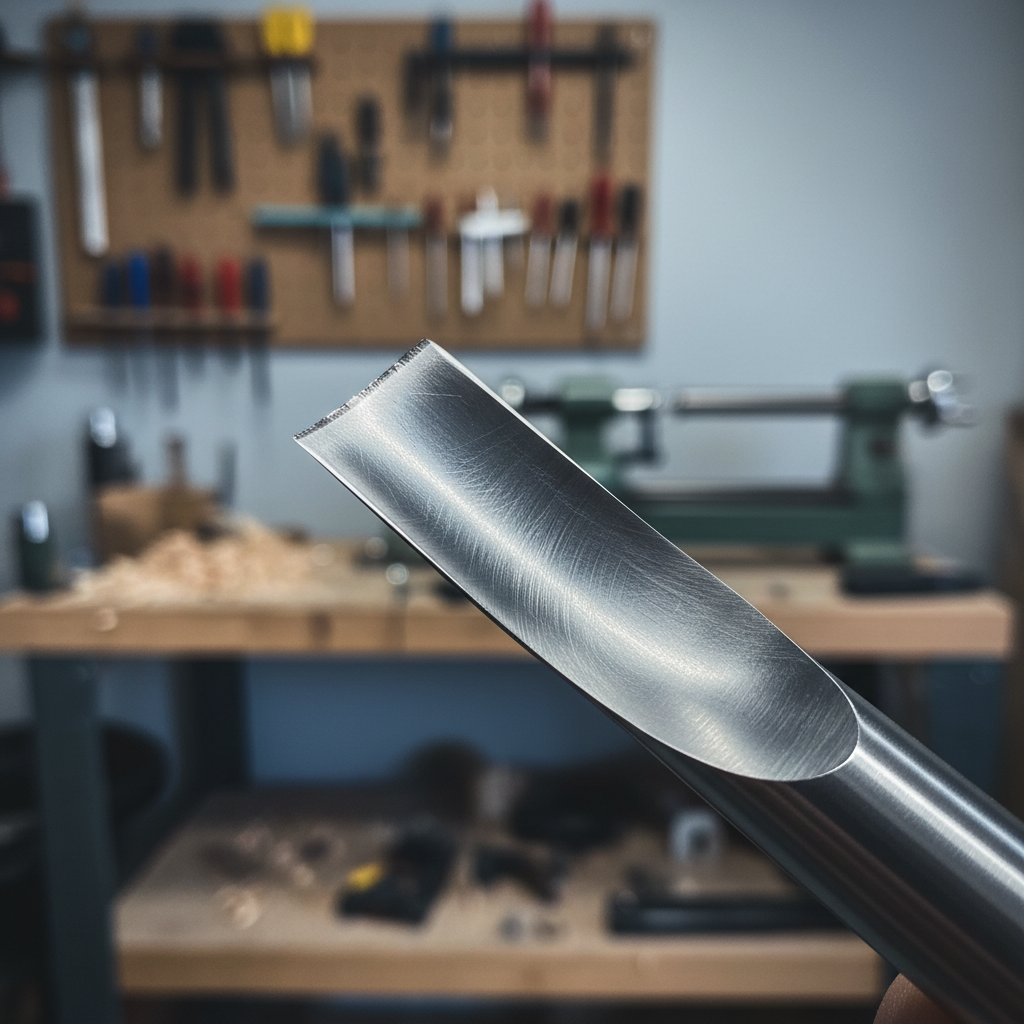
A sharp gouge has a clean, continuous cutting edge that meets the wood at the right bevel angle, with wings that aren’t over-ground and a burr that’s either intentionally present (some carving situations) or removed (most turning cuts).
In woodturning, sharp often feels “effortless,” the tool tracks predictably, and the surface looks burnished rather than torn. In hand carving, sharp feels like controlled slicing, not prying. Different, but the edge fundamentals stay the same.
- Bevel angle controls durability vs. ease of cutting. Lower angles slice easier but can feel fragile.
- Edge continuity matters more than shine. A patchy edge cuts like a serrated knife.
- Heat control matters because overheated steel can lose hardness near the edge.
Common reasons gouges get dull fast at home
If you feel like you sharpen constantly and still fight tear-out, your process may be drifting. These are the usual culprits in real shops.
- Rounding the bevel: freehand grinding without a repeatable angle slowly creates a “bulb” bevel that won’t register cleanly on wood.
- Grinding too aggressively: heavy pressure or a coarse wheel removes steel quickly and can leave deep scratches that take longer to hone out.
- Overheating: blueing at the edge suggests heat damage. Sometimes it’s mild, sometimes the edge won’t hold.
- Not removing the burr: the edge feels sharp, then collapses quickly because the burr was doing the cutting.
- Dirty or glazed abrasives: loaded sandpaper or a glazed wheel polishes instead of cutting, so you push harder and lose control.
According to OSHA, grinding operations should include eye protection and proper guarding, and sparks plus dust can create avoidable hazards in small shops. Treat sharpening like a “machine task,” not a quick touch-up.
Quick self-check: do you need grinding, honing, or just a touch-up?
Before you decide how to sharpen wood gouges at home, take 60 seconds to figure out what you’re fixing. This prevents over-grinding and keeps your gouge shapes consistent.
- Edge looks shiny in spots: those shiny flats are dull areas; you likely need light grinding or firm honing until the shine disappears.
- Tool burnishes but won’t cut: bevel may be rounded; re-establish the bevel on a grinder or coarse abrasive.
- Small nick or chip: grinding needed, then hone.
- Edge feels sharp but cuts poorly: often burr-related; try honing and deburring first.
- Tool catches more than usual: could be technique, but a blunt edge increases catches; sharpen before troubleshooting everything else.
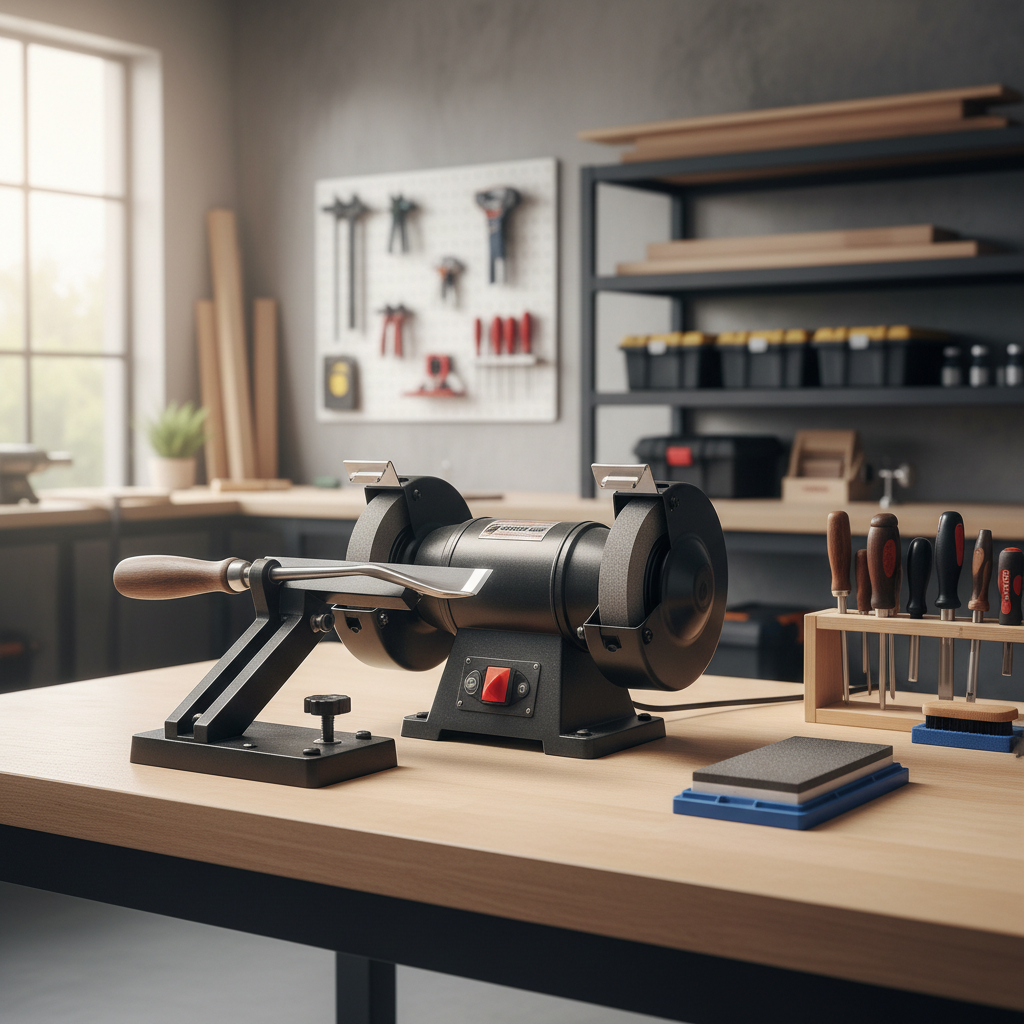
Home sharpening options: pick the setup that fits your tools
You can get excellent results with modest gear. The best setup is the one that gives you repeatable angles and doesn’t make you dread sharpening.
Option A: Bench grinder + jig (fast, repeatable)
This is the go-to for turning gouges and heavily used carving gouges. A jig reduces “shape drift,” especially on swept-back bowl gouges.
- Best for: bowl gouges, spindle roughing gouges, skews (with the right rest), reshaping profiles
- Watch for: overheating, removing too much steel
Option B: Sandpaper on glass (cheap, surprisingly effective)
Often called “scary sharp,” it’s a solid home method for carving gouges and smaller profiles if you have slips or shaped backers.
- Best for: carving gouges, palm tools, touch-ups
- Watch for: paper loading, inconsistent pressure that rounds the bevel
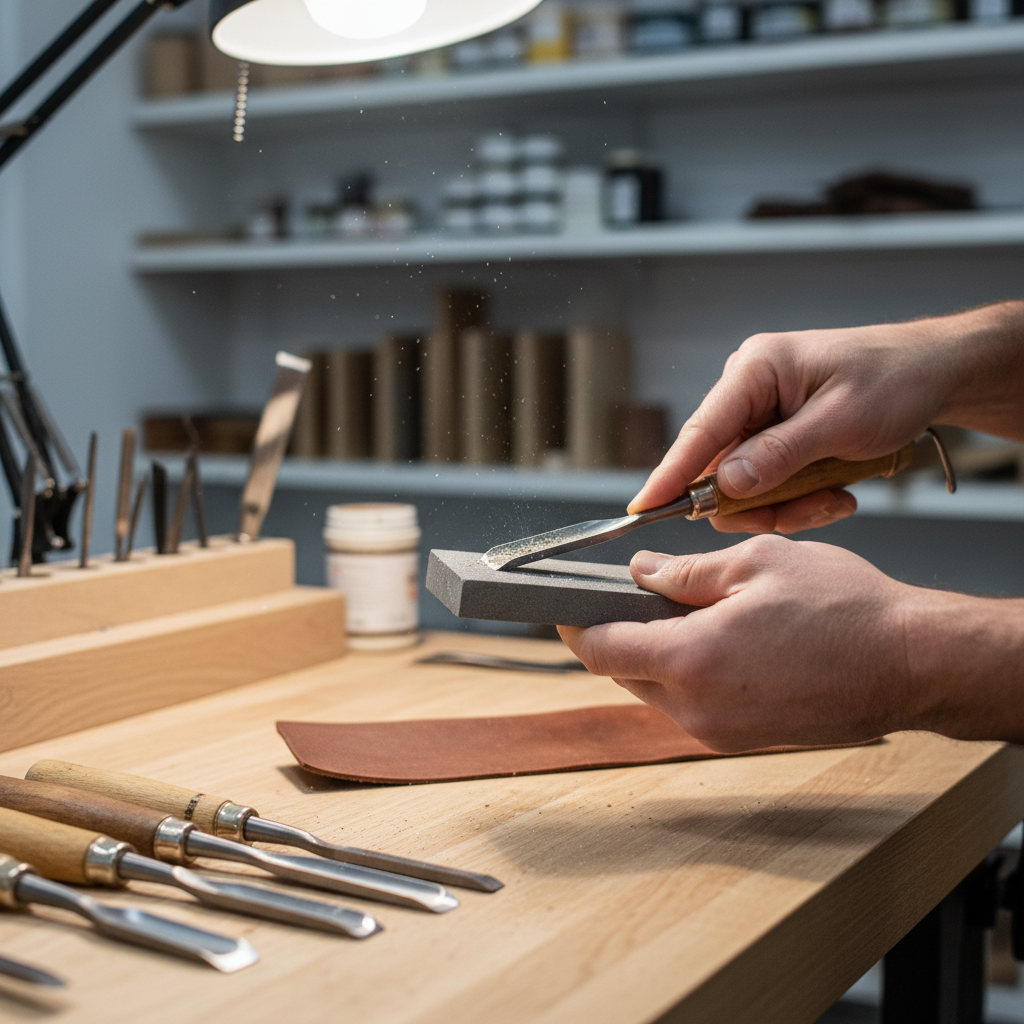
Option C: Diamond stones + slips (quiet, controlled)
Great for maintaining an edge between grinding sessions, especially on inside curves where flat stones can’t reach.
- Best for: routine honing, deburring, inside flute work
- Watch for: skipping grits, which can leave a toothy edge that tears end grain
Step-by-step: sharpen wood gouges at home (repeatable method)
This workflow assumes you want a clean, durable edge for turning or general carving. If you prefer an intentionally “toothy” edge for certain woods, you can stop earlier in the honing stage.
1) Set your target bevel angle and stick to it
For many bowl gouges, common angles are in the mid range, while spindle and detail gouges often run a bit keener. The exact number matters less than consistency, so your bevel rub and cut feel predictable.
- If you’re unsure: match the factory grind first, then adjust later based on how it cuts.
- Good rule: don’t change angle and wing shape at the same time, or you won’t know what improved the cut.
2) Establish the bevel (grind) only when you need to
If the bevel is rounded, chipped, or the edge won’t respond to honing, re-establish the bevel on a grinder or coarse abrasive.
- Use light pressure, let the abrasive do the work.
- Dip in water frequently if you’re dry grinding, especially on smaller gouges.
- Stop as soon as you raise a consistent burr along the entire edge.
3) Hone to refine, then remove the burr intentionally
Honing improves edge stability and reduces tear-out. For gouges, use appropriate slips or shaped abrasives so you don’t flatten a curved edge.
- Outside bevel: hone along the bevel, maintaining contact without rocking.
- Inside flute: use a slip that matches the curve, very light strokes.
- Deburr: alternate light strokes inside/outside until the burr disappears or becomes minimal.
4) Test the edge in a way that matches real use
Paper slicing tests are inconsistent on gouges. Better tests are visual and practical.
- Light reflection test: any bright line at the edge indicates dullness.
- Fingernail “bite” test (carefully): a sharp edge tends to grab lightly rather than skate.
- Cut test: take a controlled slicing pass on scrap; you want clean fibers, not fuzz.
Cheat sheet table: tools, grits, and what they’re for
If you’re building a simple home routine, this table helps you avoid buying three versions of the same thing.
| Stage | Typical abrasives | What you’re trying to achieve | When to stop |
|---|---|---|---|
| Reshape / repair | Grinder wheel or 80–120 grit abrasive | Restore bevel geometry, remove chips | Burr is continuous, no visible damage |
| Sharpen | 180–320 grit | Clean edge, remove coarse scratches | Edge line stops reflecting light |
| Hone | 600–1200 grit stones/slips | Refine edge, reduce tear-out | Cut feels smooth, burr minimized |
| Polish (optional) | Strop + compound | Extra refinement for tricky grain | Only if it improves your surface |
Mistakes that keep happening (and how to avoid them)
Most frustration comes from a few repeatable errors. Fix these and sharpening stops feeling mysterious.
- Chasing a mirror edge every time: it wastes time and steel. Many gouges cut great at a practical hone level.
- Rocking on the bevel: this rounds the bevel and ruins repeatability. If you freehand, slow down and lock your wrists.
- Ignoring the flute: the inside edge matters. A heavy burr or rough flute can make the tool feel “sharp” but cut poorly.
- Letting the tool get very dull: touch-ups are faster and preserve shape. Waiting means more grinding later.
- Unsafe grinding posture: if you’re fighting the tool, you’re more likely to overheat, slip, or gouge the wheel.
Key point: consistency beats intensity. A gentle, repeatable process gives you better edges than occasional aggressive sharpening.
When to use a pro, replace the tool, or rethink the grind
Home sharpening covers most needs, but a few situations justify outside help or a reset.
- Major chips or cracks: a pro sharpening service can remove damage while preserving profile, and can flag safety issues.
- Persistent edge failure: if the edge dulls almost immediately, heat damage or steel quality may be involved; a tool specialist can help you confirm.
- You want a new profile: changing a bowl gouge grind can be done at home, but it’s easy to remove too much steel. Getting it set once can save time.
If you’re unsure about grinder safety, guarding, or wheel condition, it’s reasonable to consult a local woodworking store, sharpening service, or experienced turner before you commit to a setup.
Practical takeaways you can use today
If you only remember a few things about how to sharpen wood gouges at home, remember these: keep the bevel consistent, grind only when needed, and treat burr removal as part of sharpening, not an optional extra.
- Do a fast edge check before you grind, many “dull” gouges just need honing.
- Pick one method you can repeat, then refine over time rather than changing everything at once.
- Make touch-ups normal, your cuts get cleaner and your tools last longer.
If you want a simple next step, set up a basic honing station with a diamond slip and commit to a quick touch-up every session, then reserve the grinder for reshaping and true dullness.