
How to change sandpaper on a belt sander comes down to three things: cut power, release tension, and install the new belt in the correct direction so it tracks straight.
If you’ve ever fought a belt that “walks” off the rollers, or you tore a new belt because it was installed backward, you already know why this matters. A belt sander removes material fast, and small setup mistakes show up immediately as gouges, burning, or a belt that won’t stay centered.
This guide keeps it practical: what to check before you start, the exact steps for most common sanders, a quick troubleshooting flow for tracking issues, and a table to help you pick the right belt grit for the job.
Safety and prep (don’t skip this part)
Belt sanders are simple machines, but they can surprise you when the belt grabs an edge or the tool starts up unexpectedly. Before you touch the belt, do a quick safety reset.
- Unplug it (corded) or remove the battery (cordless). If you’re using a shop vac switch or power strip, still disconnect the tool itself.
- Wait for the belt to stop completely, then set the sander upside down on a stable bench.
- If your model has a dust bag or dust port adapter, remove it so you can see the rollers clearly.
- Wear eye protection, and if you’re sensitive to dust, a properly fitted respirator may help.
According to OSHA, respirable wood dust can be a health hazard, so dust collection and appropriate PPE are worth taking seriously, especially when sanding for more than a few minutes.
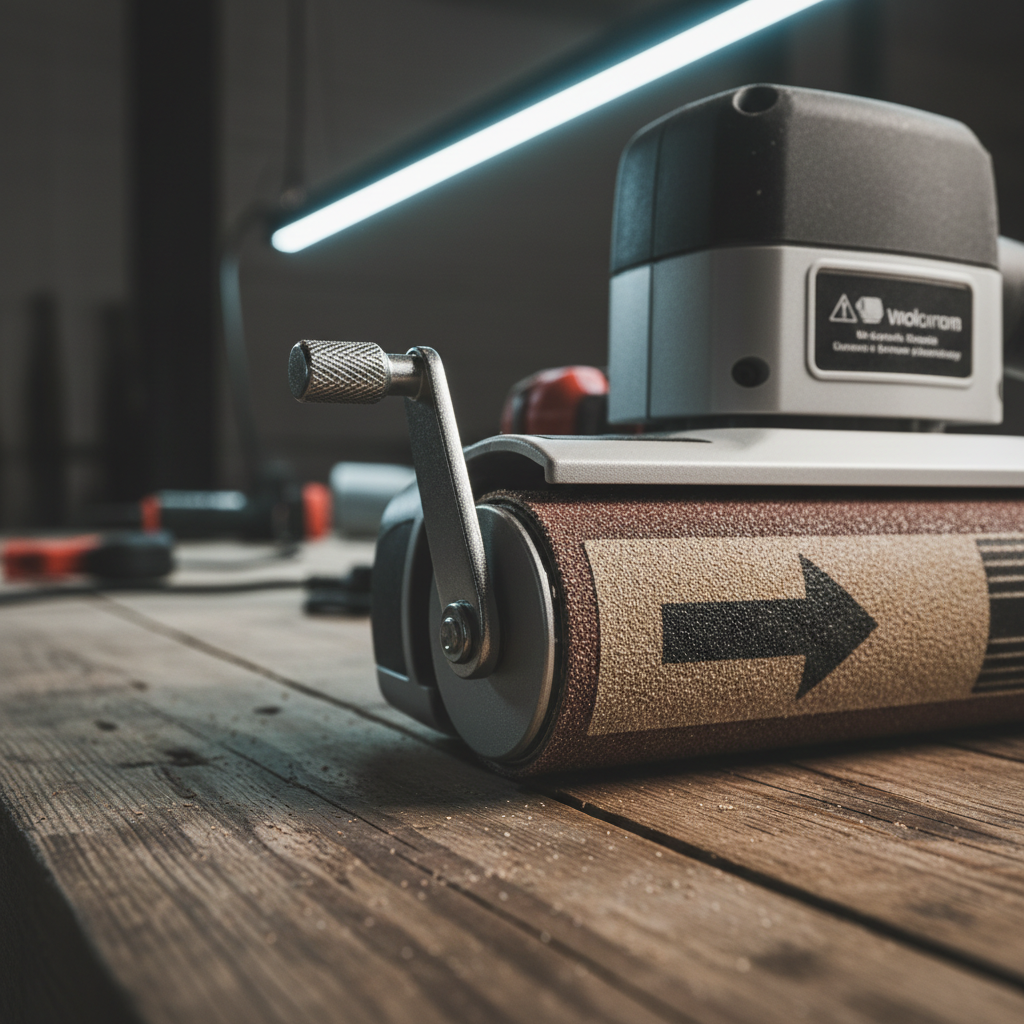
Know your belt: size, direction, and grit
Most belt-change headaches come from using the wrong size belt or ignoring the direction arrow printed inside the belt. Belts are made to run one way because the seam overlaps in a specific direction.
Quick identification checklist
- Belt size: printed on the old belt (example: 3 x 21). Match width and length exactly.
- Direction arrow: usually printed on the inside of the belt. If you don’t see it, look for seam overlap and keep the overlap trailing.
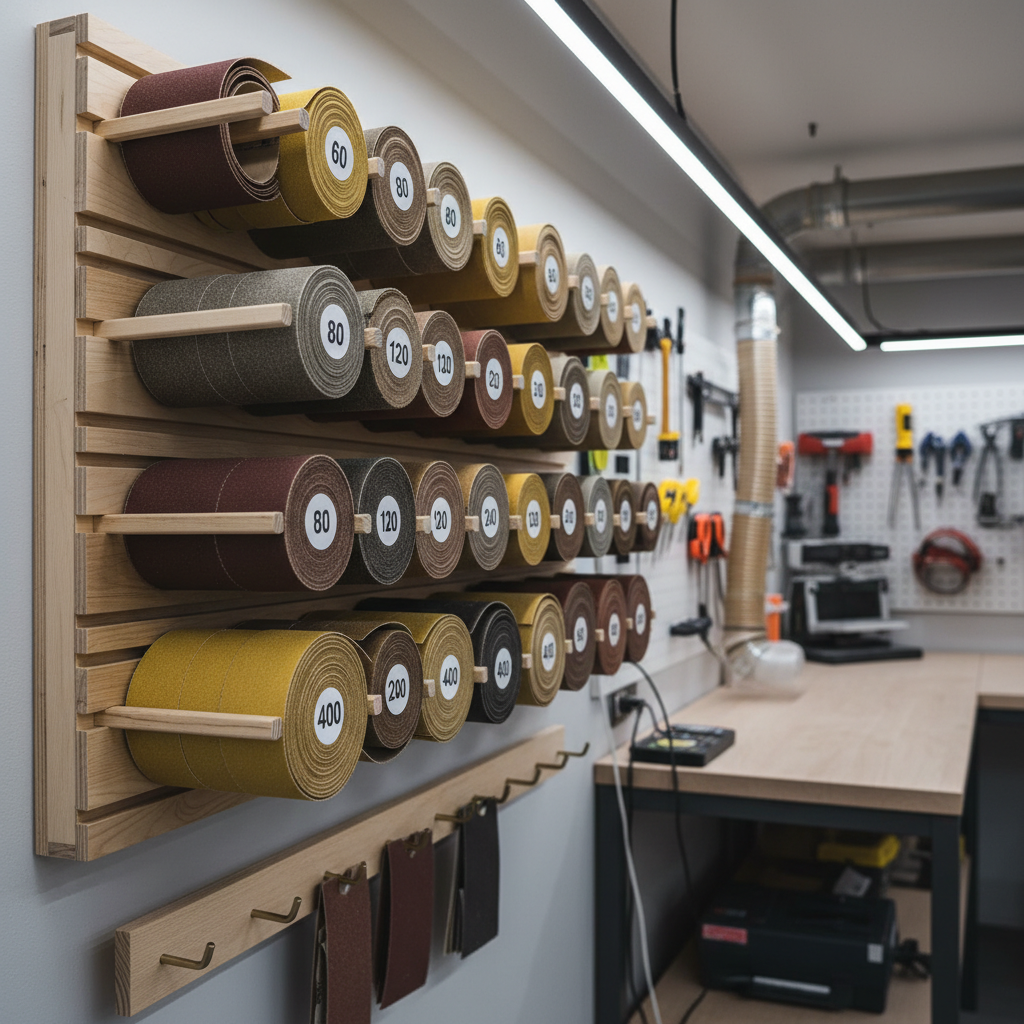
- Grit: lower number removes faster, higher number finishes smoother.
Here’s a practical grit guide. It’s not “one true chart,” but it matches how most woodworkers and DIYers actually work.
| Task | Typical grit range | Notes |
|---|---|---|
| Paint/finish removal | 40–80 | Fast cutting, easy to gouge soft wood, keep the sander moving |
| Flattening / leveling joints | 60–100 | Good balance of speed and control, check for burning on hardwoods |
| General smoothing before orbit sander | 80–120 | Common “middle step” before finer sanding |
| Fine sanding (light touch) | 120–180 | Often better handled by a random orbital sander for final finish |
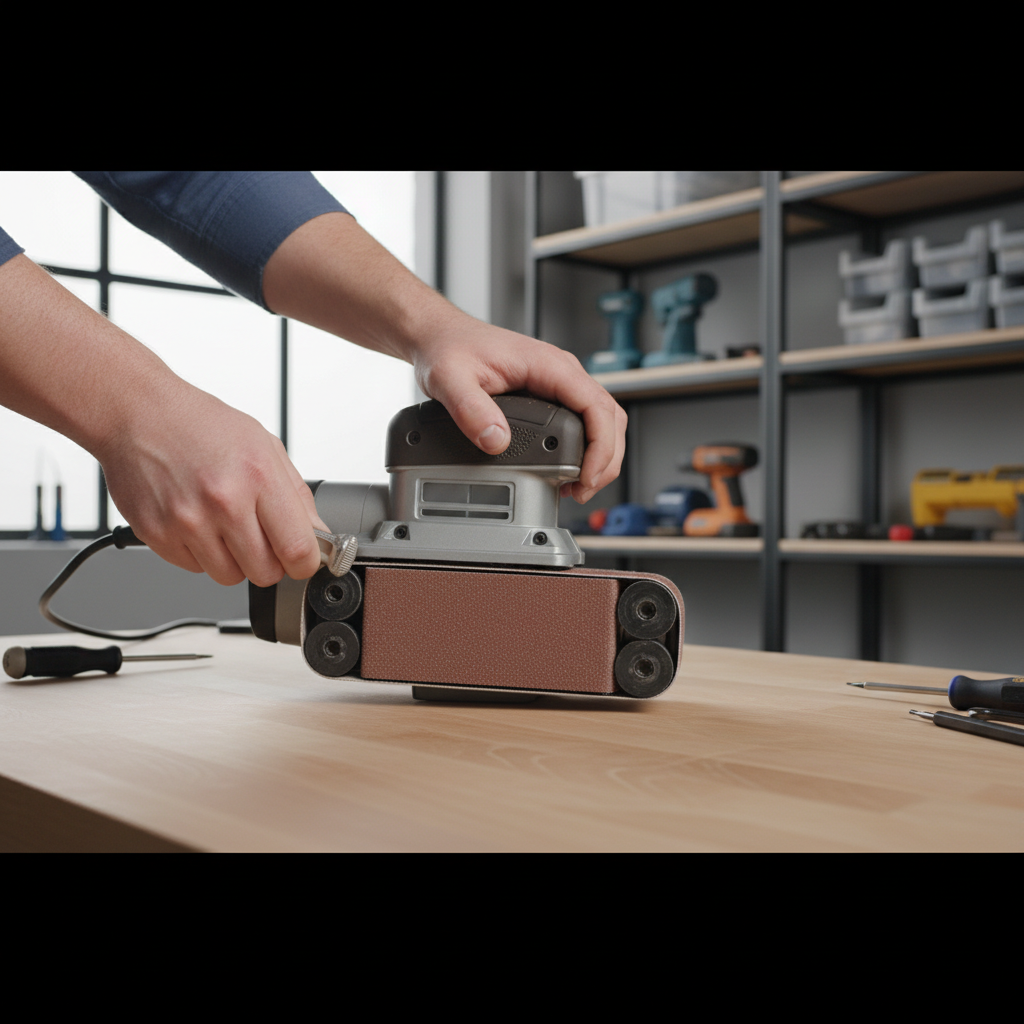
Step-by-step: how to change the sanding belt
Most handheld belt sanders use a spring-loaded tension lever. A few older or specialty models use a knob or screw tensioner, but the idea stays the same.
1) Disconnect power and position the tool
How to change sandpaper on a belt sander safely starts with removing power, then setting the tool on its side or upside down so both rollers are accessible.
2) Release belt tension
- Find the tension release lever (often on the side near the front roller).
- Flip or pull it to the “release” position. You should feel the roller loosen.
3) Remove the old belt
Slide the belt off the front roller first, then off the rear roller. If it’s stuck from pitch buildup, wiggle gently rather than yanking.
4) Install the new belt in the correct direction
- Align the belt’s direction arrow with the tool’s rotation direction (often indicated on the sander housing).
- Slip the belt over the rear roller, then the front roller, keeping it centered.
- Make sure the belt sits flat and doesn’t twist.
5) Re-engage tension and check tracking
Flip the lever back to tension the belt. The belt should feel snug and sit roughly centered. Don’t worry if it’s not perfect yet—tracking adjustment is the next step.
Tracking adjustment: getting the belt to run centered
If your belt sander has a tracking knob, use it. A belt that runs off-center wears fast, can tear, and can scuff the tool housing.
- Hold the sander so the belt is visible (many people do this with the tool still upside down on the bench).
- Reconnect power, then briefly pulse the trigger so the belt starts moving.
- Turn the tracking knob in small increments until the belt runs centered.
- Let it run for a few seconds, re-check, then fine-tune.
On many sanders, tiny knob changes make big belt moves. If you feel like it’s “overcorrecting,” slow down and give the belt a moment to respond.
Quick self-check: why your belt keeps slipping or tearing
When people search how to change sandpaper on a belt sander, they often mean “I changed it, and now it won’t behave.” These checks usually find the issue fast.
- Wrong belt size: even a close length can cause poor tension and constant tracking drift.
- Installed backward: the seam can catch and split, especially under heavy pressure.
- Worn platen or roller: the belt won’t track consistently, and you may see uneven sanding patterns.
- Pitch buildup on rollers: the belt “hunts” side to side. Cleaning may help.
- Tracking adjusted at full speed: makes it harder to control. Use short trigger pulses.
If the belt rides hard to one side immediately after tensioning, don’t keep running it. Stop, re-seat the belt on both rollers, then try tracking again.
Practical tips for longer belt life and better results
Belts aren’t cheap, and burning through them is usually a technique issue more than a brand issue. A few habits make a noticeable difference.
- Let the grit do the work: heavy pressure overheats the belt and can glaze the abrasive.
- Keep the sander moving: pausing in one spot causes dips and burn marks, especially on hardwood.
- Use dust extraction when possible: less clogging, more consistent cut, better visibility.
- Store belts flat in a dry place. Humidity can curl paper-backed belts and cause tracking problems.
- Match grit jumps: don’t go from 60 straight to 220 with a belt sander and expect clean scratch removal.
Common mistakes to avoid (the stuff that wastes time)
A belt sander feels forgiving until it isn’t. These are the missteps that tend to create the “why is this so hard” moments.
- Changing the belt while it’s still plugged in: it sounds obvious, but it’s a real risk in busy shops.
- Ignoring the directional arrow: you might get away with it briefly, but seam failure becomes more likely.
- Running a damaged belt: frayed edges can catch and shred quickly, and they can also mark the workpiece.
- Tracking with the sander pressed on wood: adjust tracking off the workpiece, then start sanding.
- Expecting furniture-grade finish from a belt sander: it’s a stock-removal tool first, finishing tool second.
When it makes sense to get help or service the tool
If you’ve installed the correct belt, followed the tracking steps, and the belt still won’t stay centered, something mechanical may be off. Many cases are minor, but a few call for service.
- Tracking knob has no effect: linkage may be stuck or damaged.
- Roller wobble or unusual noise: bearings might be worn.
- Platen visibly uneven: can cause chronic tracking and chatter.
- Frequent belt tearing even with correct direction and light pressure: roller alignment or sharp edges may be involved.
If you’re unsure, checking your manual and contacting the manufacturer or a qualified repair shop is usually safer than forcing adjustments. According to the U.S. Consumer Product Safety Commission, using power tools outside intended operation can increase injury risk, so err on the cautious side.
Bottom line: a fast belt change you can trust
Once you get the rhythm, how to change sandpaper on a belt sander becomes a one-minute task: power off, release tension, match belt direction, then dial in tracking with small knob turns.
Key takeaways:
- Correct size and correct direction prevent most problems before they start.
- Tracking is part of the belt change, not an optional tweak.
- Light pressure and good dust control usually mean smoother results and fewer belts in the trash.
If you’re about to swap belts, grab two grits while you’re at it (a “work” grit and a “refine” grit), then do a quick tracking check before the belt touches your project. Your future self will thank you.