
Joint filler tool concrete work matters most when you want a repair that stays bonded, looks clean, and doesn’t reopen after a few hot-cold cycles. If your concrete joints keep cracking, the problem is often less about the filler you bought and more about how you prepped, shaped, and finished the joint.
Concrete joint repair is one of those tasks that seems simple until you do it twice, three times, and the “same” joint fails in different ways. Moisture, dust, joint width, and traffic load all change the outcome, and the tool you use controls consistency more than most people expect.
This guide breaks down what a joint filler tool actually does, how to pick one that matches your filler type, and a step-by-step approach that avoids the usual do-overs. I’ll also point out a few situations where it’s smarter to pause and get a pro opinion, especially around structural movement and trip hazards.
Why joints fail (and why tools matter more than people think)
Most joint failures trace back to movement management and surface prep. The filler is only one part of the system, and it depends on the joint geometry you leave behind.
- Dust and laitance: that chalky surface layer blocks adhesion, so the bead peels instead of stretching.
- Wrong depth-to-width ratio: too deep and the filler can tear, too shallow and it debonds from the sides.
- No backer rod when needed: the filler bonds to three sides, stress spikes, cracking becomes more likely.
- Overfilled joints: a proud bead gets shaved by tires, snow shovels, carts, or pressure washing.
- Water intrusion: water carries grit, freeze-thaw widens edges, then everything starts unraveling.
A joint filler tool isn’t just for “making it look nice.” It helps you control bead shape, press filler into the joint walls, and strike the surface to a consistent profile so it can flex instead of tearing.
Choosing a joint filler tool concrete users actually benefit from
Tools get marketed like they’re universal, but in practice your choice should follow the filler chemistry and the joint’s job.
Tool types you’ll see most
- V-shaped or radius striking tools: for shaping sealants flush or slightly recessed, good for sidewalks and driveways.
- Flat finishing trowels (small): better when working with semi-rigid joint fillers and you want a flat, traffic-ready surface.
- Spatulas and margin trowels: useful when the joint edges are imperfect and you need to “butter” and blend.
- Specialty joint rollers/wheels: sometimes used to compress and level certain fillers, more common on commercial slabs.
Match the tool to the filler
Polyurethane and polyurea behave differently than silicone or acrylic. Some are self-leveling, others hold a bead shape, and that changes what “finishing” means.
- Self-leveling sealants: you’re guiding flow and controlling edges, not sculpting a bead.
- Non-sag sealants: you’ll strike and shape more like caulk, tool choice matters a lot.
- Semi-rigid fillers: you’re essentially screeding and shaving to grade after cure, so a flat tool and a razor scraper may matter more.
Quick self-check: what kind of joint repair are you doing?
Before you buy anything, decide what “success” looks like for your slab. The right tool for a decorative patio joint is not always the right pick for a warehouse threshold.
- Traffic: foot traffic only, passenger vehicles, or forklifts/carts?
- Joint type: expansion/isolation joint, saw-cut control joint, or random crack that got treated like a joint?
- Movement: does the joint open and close seasonally, or stay stable?
- Water exposure: sprinklers, pooling, snow melt, pressure washing?
- Edge condition: crisp edges, or spalled/crumbling sides that need repair first?
If you’re seeing spalling along both joint edges, you may need patching or edge rebuild before any sealant work, otherwise the filler just adheres to weak concrete and fails with it.
Step-by-step: using a joint filler tool for cleaner, longer-lasting repairs
Joint filler tool concrete results depend on prep and timing more than hand strength. Give yourself a little margin on drying time and work in shorter sections so you can tool the surface before skinning.
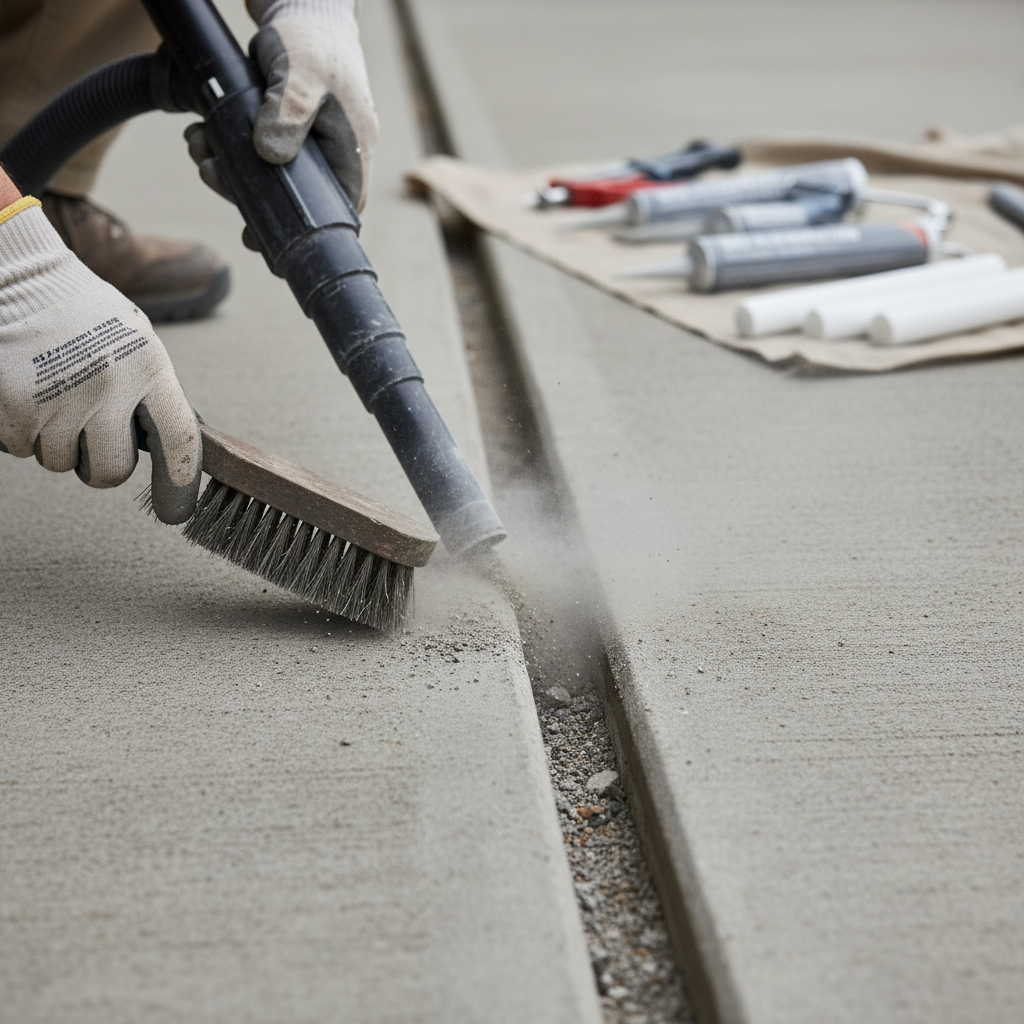
1) Prep the joint, not just the surface
- Remove old sealant completely where it’s loose, and chase down any brittle residue on the joint walls.
- Clean out sand, soil, and plant matter, then vacuum. A clean, dry joint is the baseline.
- For many sealants, a clean joint wall improves bond. According to ASTM International, joint sealant performance depends heavily on joint design and installation practices (including proper cleaning and surface condition).
2) Control depth with backer rod when appropriate
Backer rod is the “quiet hero” in many successful repairs. It helps set depth and prevents three-sided adhesion. If the joint is deep enough that filler would pool down, backer rod is usually worth considering.
- Choose a diameter that compresses slightly and sits firmly.
- Set it to a consistent depth so the finished filler thickness stays even.
- If you’re unsure about sizing for your joint width and product, the manufacturer’s technical data sheet is the most reliable reference.
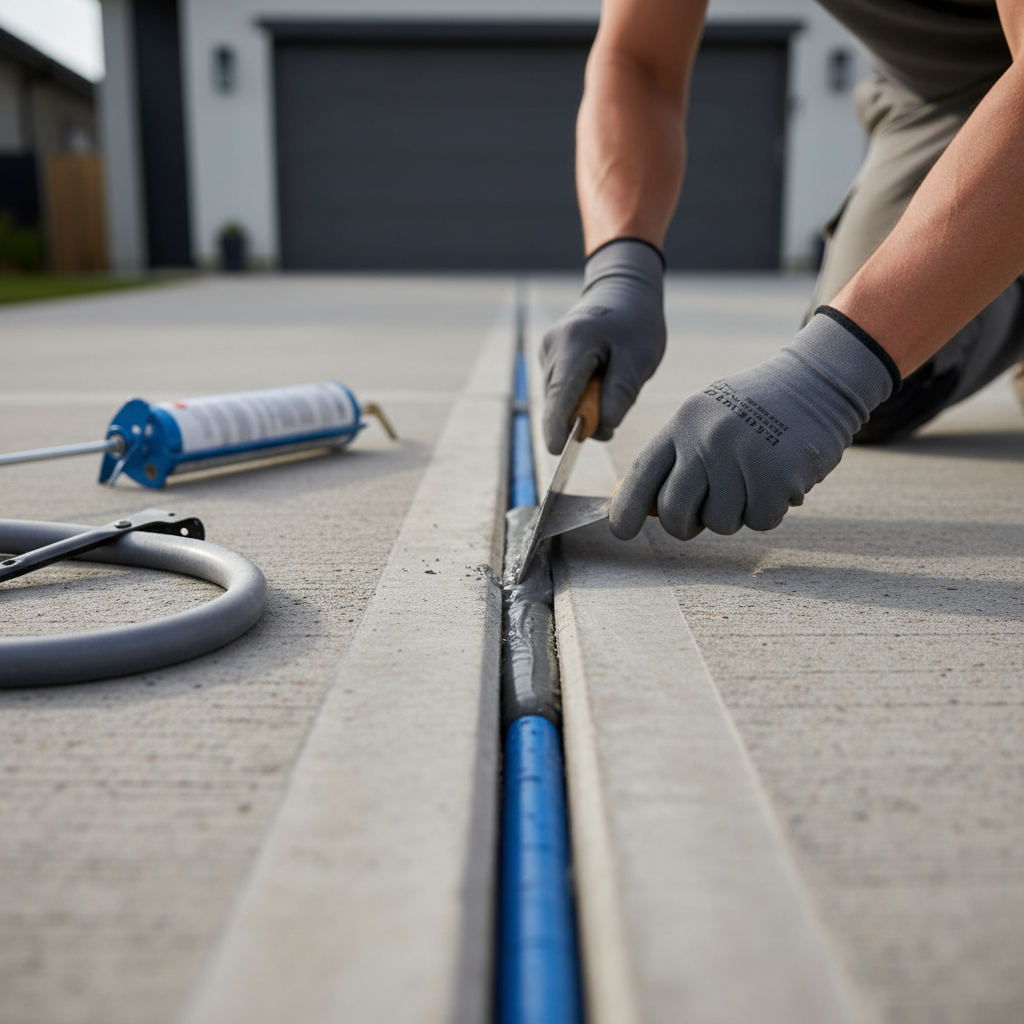
3) Apply filler in a controlled bead or pour
- Move steadily, avoid whipping air into the material.
- Fill to the target level, typically flush or slightly recessed for exterior driveways where abrasion happens.
- Don’t overwork it. Many compounds start to skin faster than you expect, especially in sun.
4) Tool the joint: press, shape, and clean edges
This is where the joint finishing tool earns its keep.
- Press the filler into the sidewalls: light pressure helps adhesion at the edges.
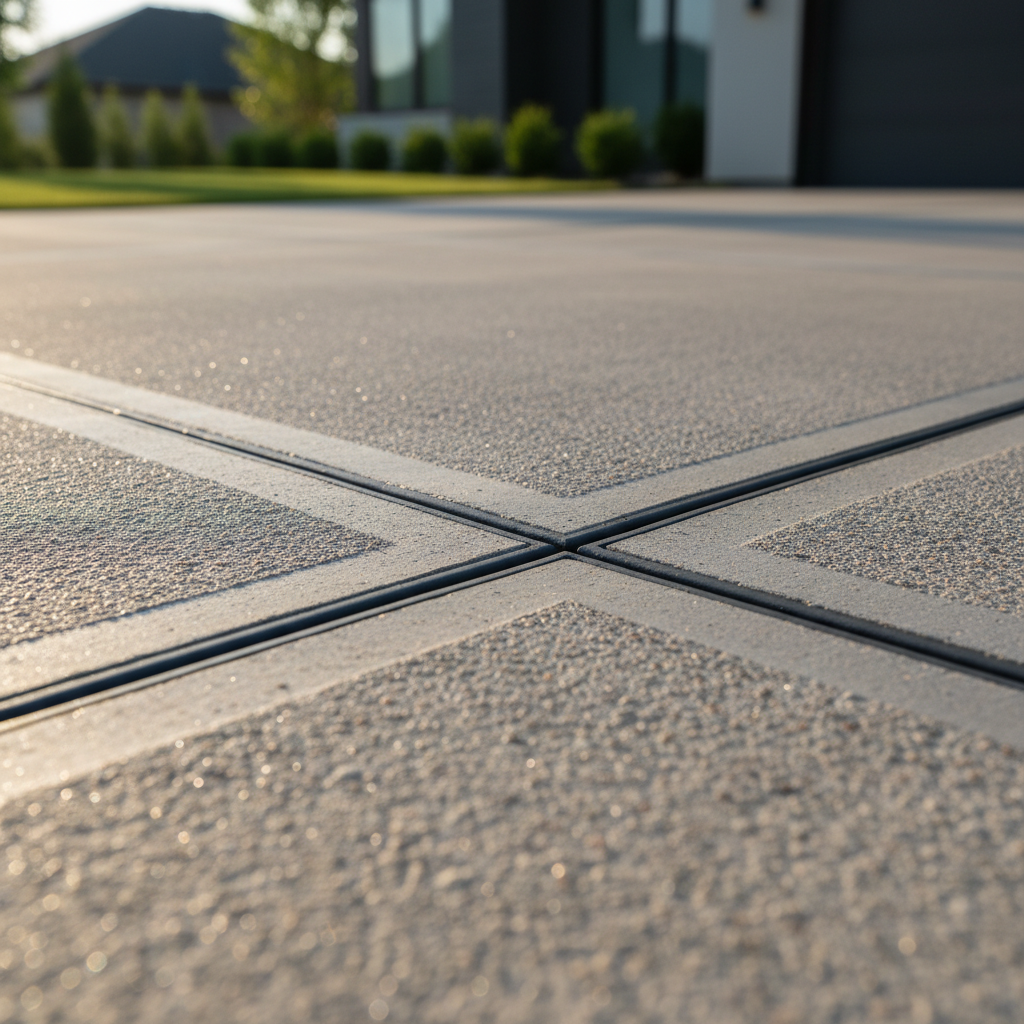
- Strike to profile: a slightly concave profile often handles movement better than a flat, proud bead, but it depends on the joint and traffic.
- Keep a consistent angle: uneven strikes create thin spots that tear early.
- Wipe edges as you go: use manufacturer-approved methods; some sealants react poorly to “random” solvents.
5) Respect cure time and early protection
Most failures I see in photos happen during the first day: dust, sprinkler water, car tires, or someone “testing” it with a finger. According to OSHA, chemical products can present inhalation and skin risks, so follow the SDS, ventilate when needed, and wear gloves and eye protection.
A practical tool-and-material pairing table
Below is a working guide, not a universal rulebook. Always cross-check your product’s instructions.
| Joint situation | Common filler style | Tool that usually fits | Finish target |
|---|---|---|---|
| Driveway expansion joints | Non-sag sealant | Radius/V strike tool | Slightly recessed, clean edges |
| Patio control joints (light traffic) | Sealant or flexible filler | Small striker + edge wipe | Concave or flush (per product) |
| Garage slab (vehicle traffic) | Semi-rigid filler | Flat trowel / screed tool | Flush, shave after cure if needed |
| Spalled joint edges | Patch + sealant system | Margin trowel + striker | Rebuild edge, then seal |
Common mistakes that waste time (and how to avoid them)
- Tooling too late: if the surface skins, you’ll drag and tear. Work smaller runs and tool immediately.
- Using “whatever liquid” to smooth: some people reach for dish soap or solvents. That can interfere with cure or adhesion depending on chemistry.
- Skipping backer rod in deep joints: the filler sinks, you top it off later, layers separate, and the seam shows.
- Filling over damp concrete: many products dislike moisture at bond lines. If the joint stays wet, solve drainage first.
- Confusing cracks with joints: active cracks may need a different repair approach than an intentional movement joint.
Key takeaway: your best-looking pass is often the one you touch the least, as long as the joint walls are clean and the profile is correct.
When to consider professional help
If any of these show up, it’s worth getting a contractor or engineer to take a look, or at least asking a local concrete pro how they’d treat it. You’re not “overthinking,” you’re avoiding repeat failures.
- Joints that keep widening quickly, or slab sections that appear to shift vertically
- Trip hazards on walkways, especially in public-facing areas
- Structural cracks, settlement, or drainage issues that keep joints wet
- Commercial floors where warranty or safety requirements apply
Conclusion: the repair is only as good as the finish control
If you want joint repairs that look intentional and hold up, treat the joint like a small system: clean walls, correct depth, compatible product, and a joint filler tool concrete users rely on for consistent shaping. Pick a tool that matches your filler behavior, then focus on timing and profile more than “adding more material.”
If you’re doing this weekend, one practical move is to prep and clean all joints first, then fill and tool in short sections so you stay ahead of skinning, your edges end up sharper, and the cure stays undisturbed.
FAQ
What is a joint filler tool used for in concrete repair?
It’s used to shape and compact filler or sealant in the joint, helping it bond to the sidewalls and end up with a consistent profile that can handle movement.
Should concrete joint filler be flush or recessed?
Many exterior joints do better slightly recessed so tires, shovels, and water flow don’t chew up the bead, but some semi-rigid products are intended to finish flush. Check your product instructions and think about abrasion.
Do I always need backer rod before applying joint filler?
Not always, but deep joints often benefit from it because it controls depth and reduces stress on the filler. Shallow saw cuts may not need it.
Can I use a putty knife instead of a dedicated joint finishing tool?
You can, and many people do, but it’s harder to keep a consistent radius and pressure. A dedicated tool usually speeds up work and reduces thin spots along edges.
Why does my joint sealant peel away from the concrete?
Common causes are dust on joint walls, moisture at the bond line, old residue left behind, or movement beyond what the product can handle. Better cleaning and correct depth control often help.
How long should I wait before driving over repaired joints?
It depends on the product chemistry, temperature, and humidity. Many sealants need at least overnight cure, some need longer. When in doubt, follow the manufacturer’s cure schedule and err on the cautious side.
Is joint repair a DIY job for uneven slabs or tripping edges?
If there’s vertical displacement, filler alone won’t fix the hazard. Grinding, slab lifting, or replacement may be needed, and a local professional can help you choose a safe approach.
If you’re doing recurring driveway or garage joint maintenance and want a more repeatable finish, it may be worth building a small kit around one joint shaping tool, the right backer rod sizes, and a filler you can get consistently, it saves the “why did this fail again” cycle.