
Gaffer tape non residue sounds simple, but most people only care about it after a show wrap or a weekend project, when the “easy fix” turns into sticky lines on a floor, scuffed paint, or a cable mess that takes longer to clean than the job itself.
If you’re taping down cables on a stage, marking positions, or even running temporary cords at home, residue is not just annoying, it can become a safety and time problem. The right tape choice and a few handling habits usually make the difference between a clean pull and a frustrating scrape.
This guide breaks down why residue happens, how to quickly tell whether a tape is likely to lift clean, what to do for common surfaces, and what to avoid when you’re under time pressure.
Why “non-residue” matters (and why residue happens anyway)
“Non-residue” is usually a performance goal, not a permanent guarantee. Tape adhesive behavior shifts with surface type, time, heat, and pressure, and even a good roll can leave marks if the conditions are rough.
- Heat and light exposure: Warm stages, direct sun through windows, or hot fixtures can soften adhesive, making it flow into pores and leave tack behind.
- Time on surface: The longer tape sits, the more the adhesive can bond. Overnight is often fine, a week can be unpredictable.
- Surface porosity: Unsealed wood, textured paint, grout, and some fabrics can “grab” adhesive more than sealed vinyl or finished metal.
- Pressure and traffic: Rolling cases, shoes, and chairs push tape deeper into texture, which can increase residue risk.
- Old roll or poor storage: Age, humidity, and temperature swings can change adhesive properties in ways that show up at removal.
According to OSHA, employers should keep walking-working surfaces free from recognized hazards and address slip, trip, and fall risks. Tape is often part of cable management, but it’s only helpful if it stays put and removes cleanly when the setup changes.
What to look for when buying gaffer tape non residue
Packaging claims vary, so it helps to shop by features that correlate with cleaner removal in real spaces.
- Cloth backing (gaffer, not duct): Gaffer tape typically uses a cloth carrier that tears clean and conforms, duct tape often leaves heavier adhesive and shiny marks.
- Matte finish: Matte cloth is common for stage work because it avoids reflections and often pairs with adhesives designed for temporary holds.
- Clean-removal or premium-grade adhesive: If a brand specifies “clean removal” and notes a time window, that’s more useful than vague “non residue” wording.
- Temperature range: For stages, look for a stated range that covers hot lights and warm floors. Missing specs can mean more guesswork.
- Tearability and edge integrity: Clean hand-tear and edges that don’t fray too fast matter when you’re doing fast cable runs.
One more practical tell, if a roll feels overly soft and “gooey” at room temperature, it may be more prone to transfer on removal, especially on sealed floors.
Quick self-check: will your surface likely remove clean?
If you want a fast go/no-go before committing, run through this short checklist. It’s not perfect, but it catches the usual traps.
- Is the surface newly painted (within 2–4 weeks) or unknown paint quality?
- Is it textured (orange peel wall, unfinished wood, concrete, brick, grout lines)?
- Will the tape sit more than 24–48 hours?
- Will it face heat (sun, heaters, stage fixtures, hot electronics)?
- Will there be heavy rolling traffic over it?
If you answered “yes” to two or more, plan a small test strip in an inconspicuous spot, and consider shorter dwell time or a different method, like cable ramps or clips.
Stage vs home: best-use scenarios (with a comparison table)
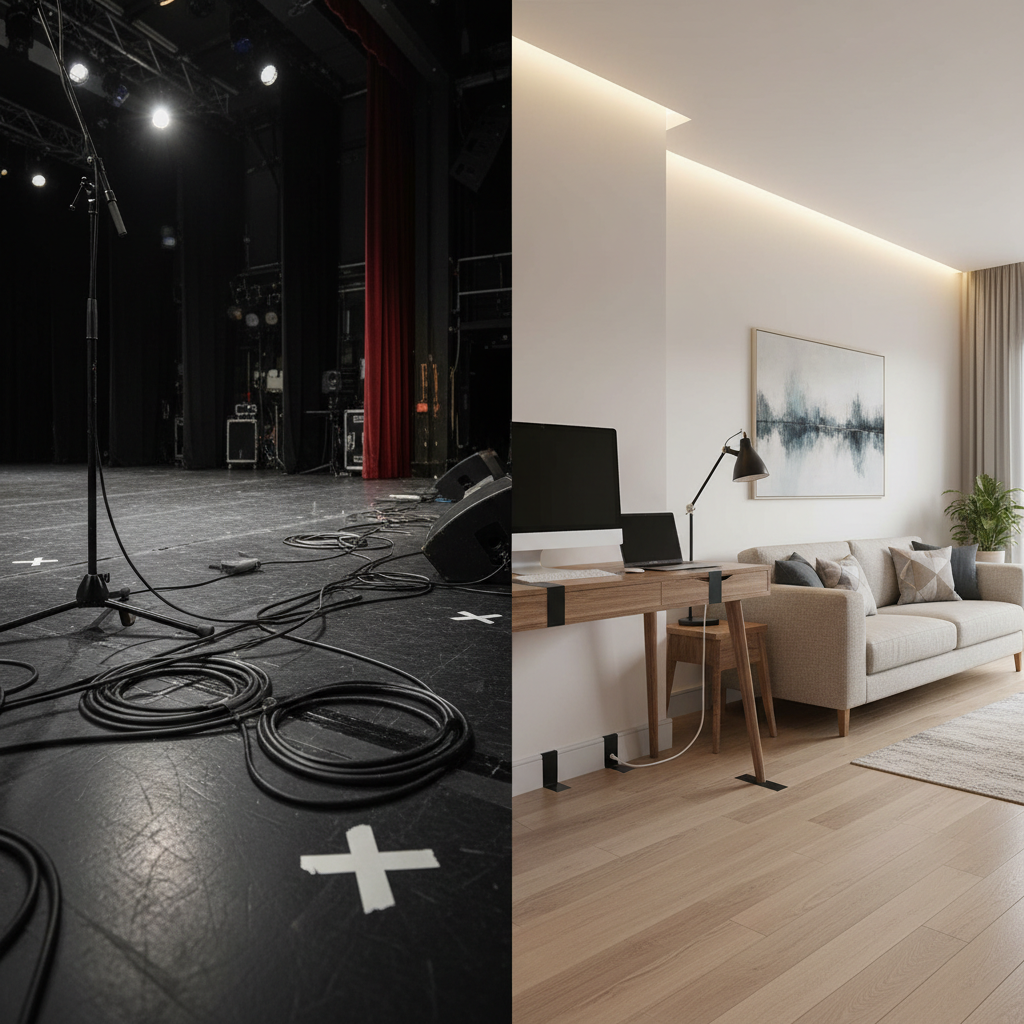
Most people use gaffer tape in two worlds, live production and day-to-day home setups. The requirements overlap, but the surfaces and removal expectations differ.
| Use case | What you want | Common surfaces | Watch-outs |
|---|---|---|---|
| Cable runs (stage) | Strong hold, low shine, clean pull after strike | Painted deck, Marley, concrete | Heat, traffic, dust under tape |
| Spike marks / blocking | Readable color, consistent tear, no ghosting | Stage floors | Layering tapes can increase adhesive transfer |
| Temporary cord routing (home) | Clean removal from paint, minimal damage | Baseboards, painted walls, laminate | Fresh paint, textured walls |
| Rugs and fabric protection | Hold without pulling fibers | Area rugs, upholstery edges | Some fabrics snag, test first |
How to apply it so it removes clean (real-world steps)
Clean removal starts before the tape touches the surface. Most residue complaints trace back to rushed prep or over-pressing edges.
1) Prep the surface fast, not fancy
- Wipe dust and grit with a dry microfiber cloth. On stages, grit under tape acts like sandpaper and increases edge failure.
- If the surface is oily, a light wipe with isopropyl alcohol can help, but test first on paint and finishes.
2) Use the right amount of tension
- Lay tape down without stretching it hard. Over-tension can cause lifting later, which leads people to press harder, which raises residue risk.
- Press firmly along the center, then seal edges with a quick pass of your fingers, no need to burnish aggressively.
3) For cables, avoid “single long strip” habits
- Use short “tabs” every 12–18 inches for low-traffic areas.
- In higher traffic, use wider tape and overlap pieces slightly, but don’t stack unnecessary layers.
4) Set a removal plan
If you know the tape will sit longer than a day, put a reminder in your run sheet or phone. Many clean-removal adhesives behave best within a stated time window, and beyond that it becomes more surface-dependent.
How to remove gaffer tape without residue (and what to do if it happens)
When removal goes wrong, people tend to yank quickly, which is exactly how you pull paint or leave adhesive behind. Slow is faster here.
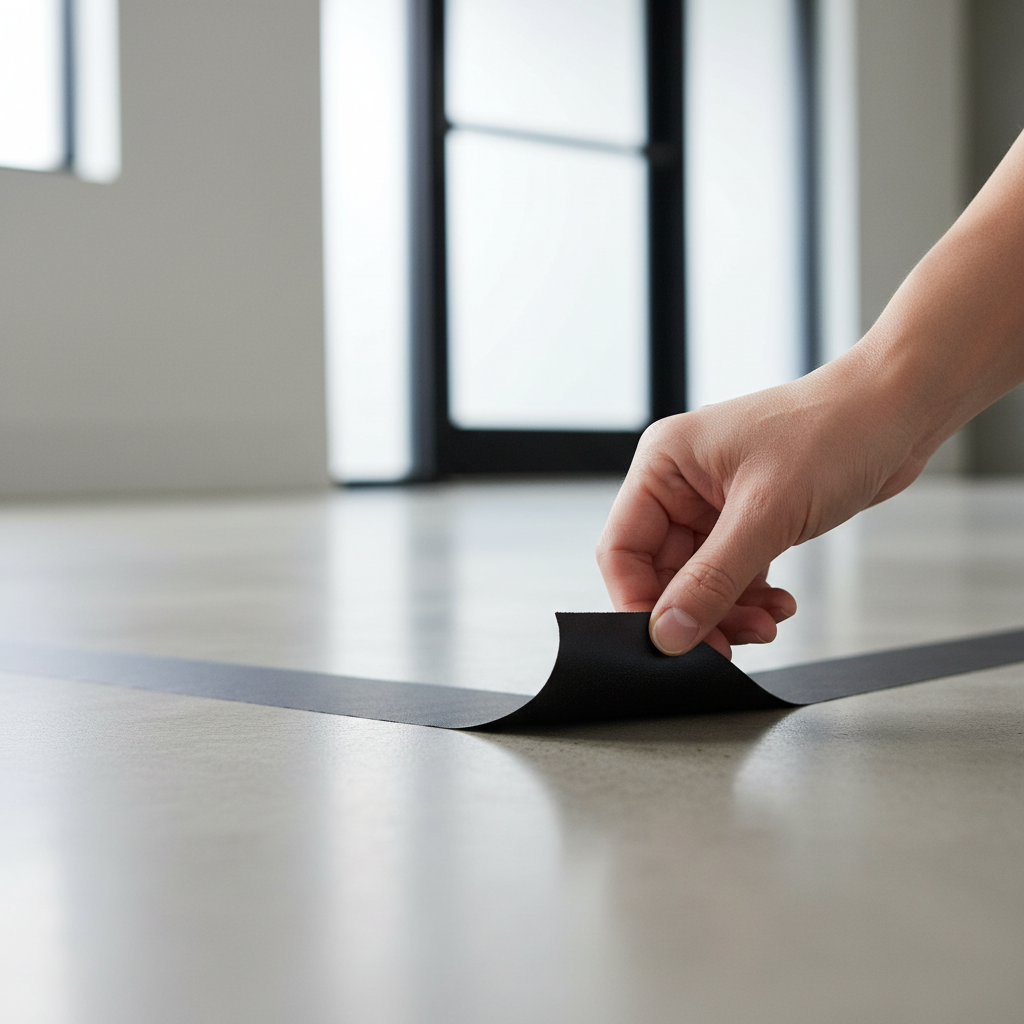
- Pull low and slow: Peel back at a low angle, almost parallel to the surface, keeping steady tension.
- Use gentle heat if needed: Warm air from a hair dryer can soften adhesive for cleaner release, but keep it moderate and keep moving.
- Don’t scrape with metal: Plastic scrapers are safer for floors and paint.
If residue remains, try this sequence, stopping as soon as it’s clean:
- Warm the area slightly, then roll residue off with your thumb or a clean cloth.
- Use a small amount of isopropyl alcohol on a cloth, test on an unseen spot first.
- For delicate surfaces, a mild soap-and-water wipe may be safer, even if it takes longer.
For specialty flooring, instrument finishes, or antique surfaces, it’s usually smarter to ask the venue manager or manufacturer what cleaners are acceptable rather than guessing.
Common mistakes that make “non-residue” tape fail
- Using duct tape as a substitute: It can hold, but cleanup often costs more time than you save.
- Taping over damp floors: Moisture weakens hold, then people press harder or double-layer tape, which can increase transfer.
- Leaving tape on through a heat cycle: For example, day/night temperature swings near windows, or load-in cool, show warm, strike warm.
- Assuming all paints behave the same: Flat wall paint, low-VOC paint, and bargain paint can be more prone to lift.
- Pressing edges like you’re sealing roofing: Over-burnishing is a common “I need it to stay” reflex that backfires at removal.
When you should consider a different solution (or ask a pro)
Gaffer tape is great for temporary work, but it’s not always the right tool, even if the roll claims clean removal.
- Public walkways or heavy crowds: Cable ramps or floor cord covers reduce trip risk more reliably than tape.
- Expensive floors or fresh renovations: Test strips matter, and you may want removable floor protection products designed for longer dwell times.
- Critical safety or compliance environments: Venues, schools, and workplaces may have policies. If you’re unsure, check with facilities or a safety professional.
According to CDC guidance on preventing slips, trips, and falls, keeping walkways clear and managing cords are practical prevention steps. Tape can help, but in many settings, a physical cover is the safer call.
Practical takeaways you can use today
If you’re buying or using gaffer tape non residue for the next setup, aim for fewer surprises: match tape grade to surface, keep dwell time realistic, and remove with a low-angle peel.
- Do a small test strip on paint, sealed wood, and anything textured.
- Keep it clean under the tape, dust and grit change everything.
- Plan removal before heat and time make it harder.
If you want one action step, do this: pick a quality roll, then test it on your actual surface under your actual timing. That one minute test often saves an hour of cleanup later.
FAQ
Does gaffer tape really remove without residue?
Often it does, especially on sealed, smooth surfaces and within a reasonable time window. Heat, texture, and long dwell time can still cause adhesive transfer, so a small test is the safest bet.
Is gaffer tape safer than duct tape for stage floors?
In many stage workflows, yes, because it’s designed for temporary placement and cleaner removal with a matte finish. Safety still depends on good cable routing and whether a ramp or cover is more appropriate.
Can I use non-residue gaffer tape on painted walls at home?
You can, but paint type and cure time matter. If the wall was painted recently or has a chalky flat finish, test a small strip and remove it within a shorter timeframe.
How long can I leave gaffer tape down before it starts sticking?
It varies by brand, surface, and temperature. For many scenarios, same-day removal is the cleanest, and multi-day placement is where results become less predictable.
What’s the best way to remove leftover adhesive?
Start gently with warming and rubbing to lift residue, then try isopropyl alcohol on a cloth if the surface tolerates it. For specialty finishes, check manufacturer cleaning guidance to avoid damage.
Will gaffer tape damage hardwood floors?
Finished hardwood usually fares better than unfinished wood, but finishes vary and some can haze or lift. Test in a hidden area and avoid leaving tape down through heat swings.
What width should I choose for taping cables?
For single cables in low-traffic areas, narrower widths can work. For bundles or areas with foot traffic, wider tape typically holds flatter and reduces edge lift.
Is “spike tape” the same as gaffer tape non residue?
Spike tape is usually a narrower, often more rigid tape used for marking positions. It can remove cleanly, but it’s not always meant for heavy cable management the way gaffer tape is.
If you’re trying to keep setups clean and fast, whether it’s a weekend gig or a home office refresh, choosing a tape that prioritizes clean removal and testing it on your real surfaces is the most reliable path, and it’s usually cheaper than fixing paint, refinishing floors, or re-running cables later.