
How to use a power planer for door trimming comes down to three things: marking the rub, taking light passes, and keeping the cut controlled so the door still looks like it “belongs” in the opening.
If your door sticks after new flooring, seasonal humidity, or a slightly out-of-square jamb, a power planer can save time compared with sanding or repeated hinge tweaks. But it can also remove too much, too fast, and that’s where most DIY jobs go sideways.

This guide focuses on practical door trimming: what to check before cutting, how to set your planer, where to remove material, and how to avoid tear-out and uneven gaps. You’ll also get a quick decision checklist, plus a small reference table for common door problems.
When a power planer is the right tool (and when it isn’t)
A power planer shines when you need to remove a small-to-moderate amount of wood along an edge and you want a straight, consistent result. Door edges are a classic use case, especially for solid wood doors and many wood-core doors.
- Good fit: door rubs the jamb on the latch side, top corner binds, or bottom drags after new carpet or a threshold change.
- Sometimes fit: minor swelling from humidity, where you still need to seal/paint after trimming.
- Not ideal: hollow-core doors with very thin edge material, doors with metal edges, or situations where the frame is the real issue (jamb racked, hinges loose, screws stripped).
If you suspect lead paint (older homes) or you’re trimming a fire-rated door, it’s worth slowing down and checking requirements, many fire doors have limits on how much you can trim and how edges must be sealed, and when in doubt, a door shop or contractor can confirm.
Quick diagnosis: find the rub before you remove wood
Before you plug anything in, you want to know exactly where the door hits and why. Many doors “stick” for different reasons that look similar from across the room.
Fast self-check list
- Open and close slowly, listen for a scrape, and watch where the gap disappears.
- Look for shiny spots on paint, scuff marks, or compressed weatherstripping.
- Do the hinge screws feel tight, especially the top hinge?
- Is the latch side gap tight at the top but wider at the bottom, or the reverse?
- Did the problem start after flooring, a new threshold, or seasonal weather?
Two easy marking tricks
- Pencil shading: scribble thick pencil on the suspected edge, close the door, the rubbed area will show the contact.
- Masking tape witness: tape the jamb lightly, close the door, creases or tears show the hit zone.
Tools and setup that make the cut predictable
You don’t need a fancy kit, but you do need control. A power planer removes material quickly, so the “setup” is where quality comes from.
- Power planer (corded or battery) with a sharp blade set
- Hearing and eye protection, and a dust mask if you’re generating lots of chips
- Stable support: sawhorses, workbench, or door stands
- Square, straightedge, tape measure, and pencil
- Sandpaper (120–180 grit) or a sanding block
- Paint/primer or sealer for the freshly cut edge
According to OSHA, eye and hearing protection are recommended around power tools, and keeping hands clear of rotating cutters is a baseline safety practice, which sounds obvious until you’re balancing a door and rushing the last pass.
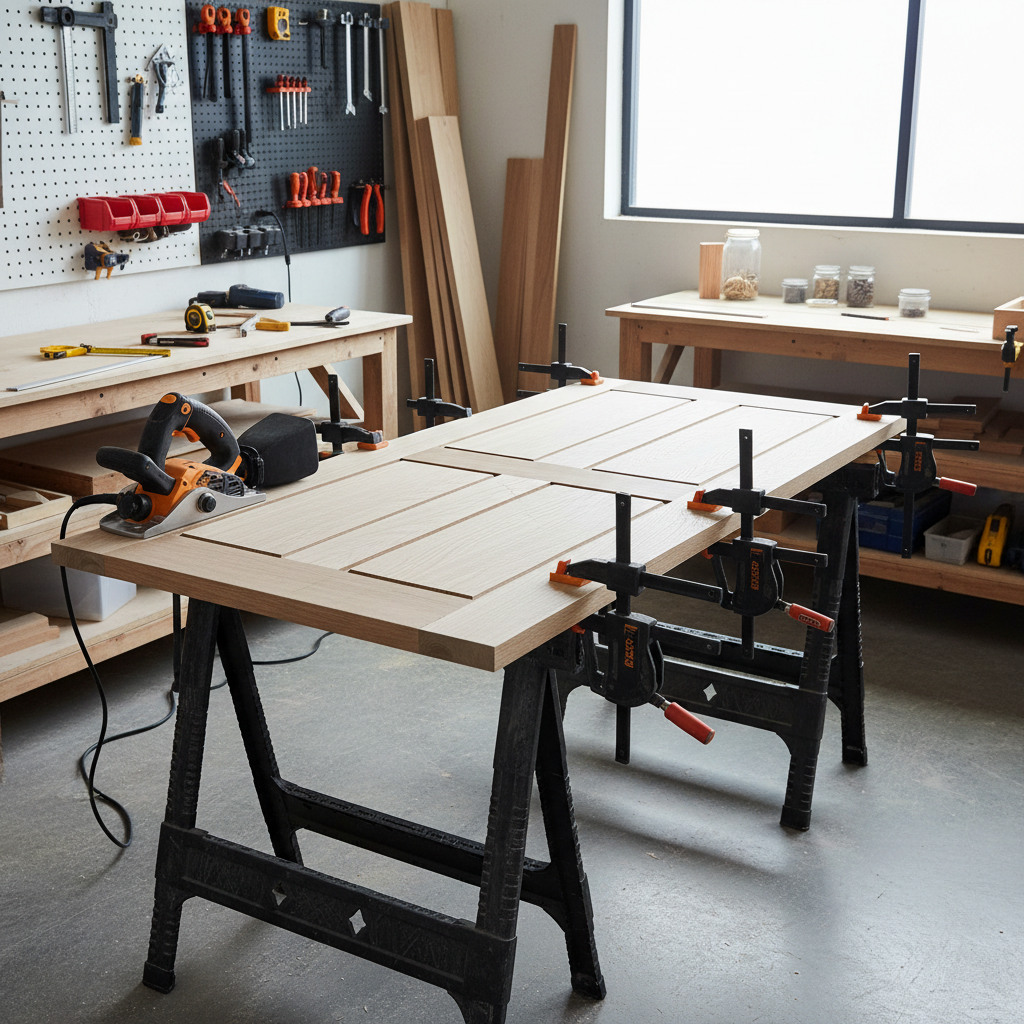
Set up the door so it can’t shift. Trimming while the slab wiggles is where you get waves, gouges, and the “why is my gap wider in the middle” surprise.
How much to trim: a practical reference table
People usually ask “how much should I take off,” but the better question is “what gap am I targeting.” Interior doors often look clean with an even reveal around the jamb, while exterior doors have weatherstripping and tighter tolerances.
| Problem you see | Likely cause | Where to remove material | Typical approach |
|---|---|---|---|
| Door rubs at top latch corner | Frame slightly out of square, hinge side sag | Top edge near latch side (sometimes tiny amount) | Confirm hinge screws, then plane in short, controlled passes |
| Latch side drags along jamb | Door too wide for opening, paint buildup | Latch edge (full length or marked zone) | Plane lightly, keep edge square, test fit often |
| Bottom hits new flooring/threshold | Finished floor height increased | Bottom edge | Mark cut line, remove door, plane bottom, reseal edge |
| Door sticks only in humid months | Seasonal swelling, edge not sealed | Contact points only | Small trim plus sealing raw wood to slow moisture movement |
Key point: it’s easier to take off another hair than to put wood back on. Aim for progress, not perfection, on your first round.
Step-by-step: how to use a power planer for door trimming
This is the workflow that stays calm even when the door is fighting you.
1) Remove the door and mark your target
- Pull hinge pins and move the slab to sawhorses.
- Mark the rub zone with pencil, then extend a light reference line for where you expect to plane.
- If you need to trim the bottom, mark a cut line all the way across using a square.
2) Set the planer for light passes
- Start shallow, many planers let you dial small increments per pass.
- Check blade sharpness, dull blades increase tear-out and leave ridges.
- If you have a dust bag or vac port, use it, door chips get everywhere fast.
3) Plane with steady pressure and a “flat shoe” mindset
- Start with the planer’s front shoe flat on the door edge before the blade fully engages.
- Keep pressure balanced, early in the cut you guide with the front, later you shift a bit more control to the rear so you don’t dip at the exit.
- Work with the grain when possible, if the grain reverses, take extra-light passes to reduce chipping.
4) Use a stop-and-check rhythm
- After a couple passes, stop and feel the edge, look for ridges, confirm you’re staying square.
- Rehang the door for a test fit sooner than you think you need to, especially near the latch side where small changes affect the reveal.
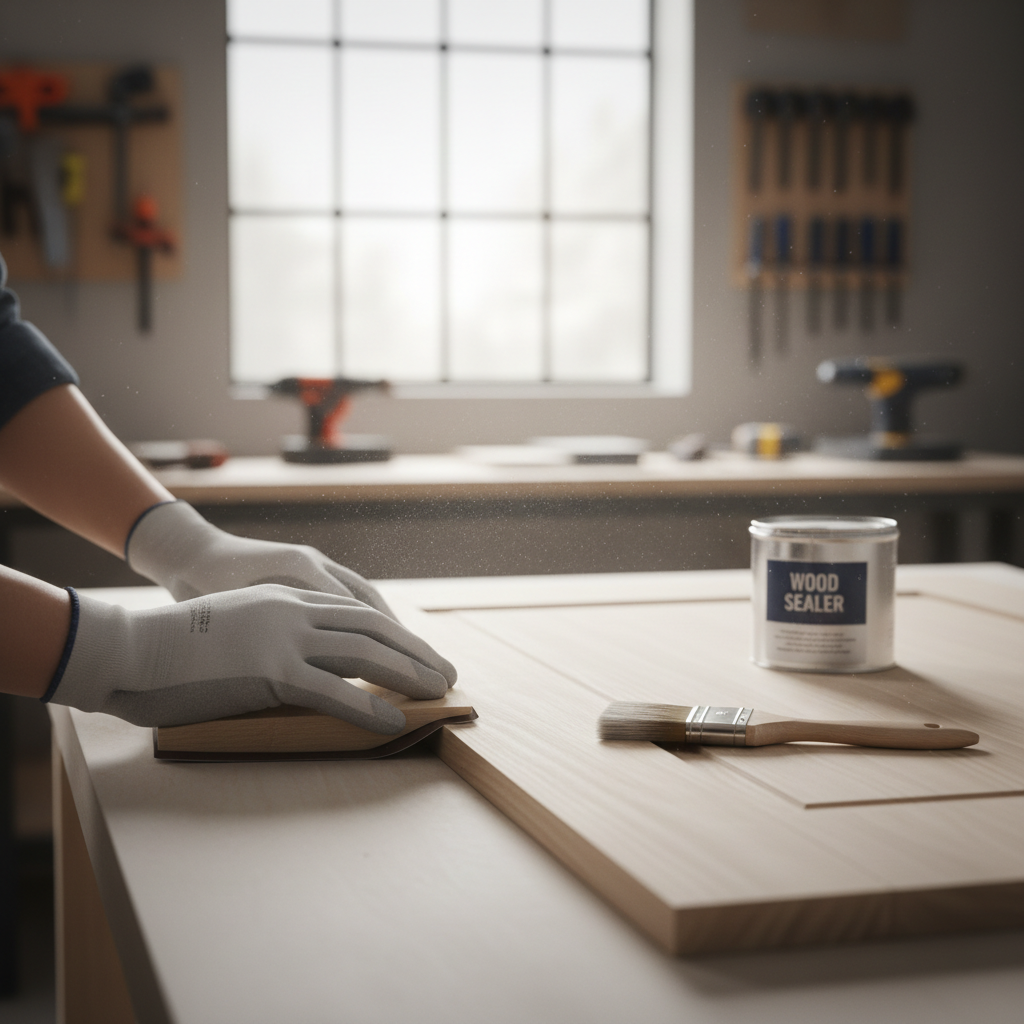
5) Clean up the edge and seal it
- Lightly sand to remove planer marks.
- Seal raw wood with primer/paint or a clear sealer, many sticking issues return because an exposed edge absorbs moisture.
- Reinstall hardware, then confirm latch alignment, sometimes trimming changes the “feel” and you’ll want a minor strike plate tweak.
Real-world tips for cleaner results (the stuff people skip)
Feather your cut zone. If you only need relief in one corner, blend your passes out past the rub area so you don’t create a visible flat spot that catches light when the door is closed.
Avoid blowout at the end grain. On bottom edges or cross-grain exits, take very light bites and consider approaching from both ends toward the center, that often reduces chipping.
Watch the latch edge bevel. Many doors have a slight factory bevel on the latch side so they close smoothly. If you plane that edge perfectly square by accident, the door can feel “sticky” even with a decent gap. Match the existing angle as closely as you can.
Common mistakes and how to avoid them
- Taking too much in one pass: if you can see the gap change dramatically after one run, you’re cutting too deep. Dial it back.
- Planing the wrong edge: a sagging door often needs hinge fixes, not wood removal. Tighten/upgrade screws before you cut.
- Not sealing the trimmed edge: unsealed wood can swell again, especially on exterior doors or bathroom doors.
- Ignoring nails or staples: hidden fasteners near the edge can destroy blades. Scan visually and be cautious with repaired doors.
If the door has a veneer skin, go slower than your instincts, some veneer edges chip easily and can’t be “sanded back” into looking normal.
When it’s smarter to call a pro
A power planer is straightforward, but a few situations deserve backup. If the door is exterior and you’re not sure about weather seal compression, if it’s fire-rated with labeling you want to preserve, or if the jamb is clearly out of square, a carpenter or door shop can usually solve the root cause faster than repeated trimming.
Also, if you suspect older paint that could contain lead, it’s reasonable to stop and consult a qualified professional about safe testing and containment, sanding and planing can spread dust where you don’t want it.
Conclusion: a clean-trimming mindset that prevents regrets
How to use a power planer for door trimming is mostly about restraint: confirm the rub, set a shallow cut, take a couple passes, then test fit. The best jobs look boring because the door closes quietly and the reveal looks even.
If you want one simple action plan, mark the contact point today, then commit to light passes and frequent rehanging checks, you’ll finish faster than trying to “nail it” in one go.