
Magnetic flashlight holder mount setups solve a simple annoyance: you need light exactly where you’re working, but your flashlight keeps rolling, pointing the wrong way, or taking up a hand when you need both.
If you’ve ever tried to hold a light under a hood, in a crawlspace, or while troubleshooting a panel, you already know the real pain is wasted time, awkward angles, and shadows that move every time you shift your body.
This guide breaks down what matters when choosing a mount, how to match it to your flashlight and work surface, and a few practical install tips that prevent the “it fell off again” cycle.
Why these mounts are so popular (and when they disappoint)
Most people buy a magnetic mount for one reason: hands-free lighting without drilling holes. In many garages and job sites, that’s the difference between a five-minute check and a 30-minute wrestling match with shadows.

Where they can disappoint is also predictable: weak contact on thin metal, sliding on curved surfaces, losing grip when dust or oil builds up, or simply not fitting your light’s body diameter.
One more reality check, magnets are not “one size fits all.” Surface type, temperature, and how much vibration exists in the area all change the outcome.
What a magnetic flashlight holder mount really is
At its core, you’re looking at two pieces: a magnet base that sticks to something, and a cradle, clip, or ring that keeps your flashlight aimed. Some designs add a swivel or ball joint so you can dial in angle without moving the base.
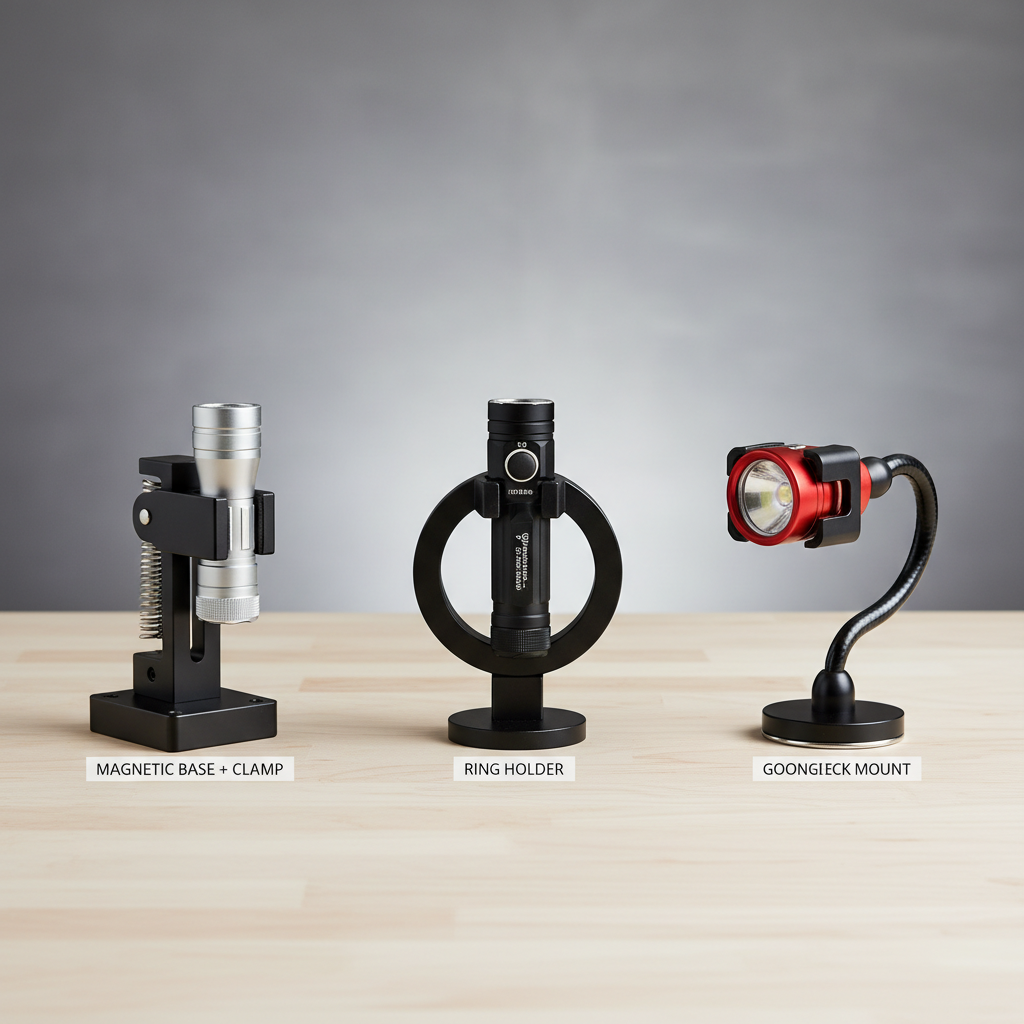
Common styles you’ll see in the U.S. market include:
- Magnetic base + adjustable clamp (good for varied flashlight sizes)
- Ring holder sized to a specific tube diameter (stable, but less flexible)
- Clip-in cradles for right-angle lights (fast to place, often lighter duty)
- Gooseneck mounts (maximum aim control, but more wobble under vibration)
Some mounts rely on magnet-on-metal only, others add a steel plate you can screw or stick onto a non-magnetic surface so the magnet has something to bite.
Key selection criteria (what actually matters)
If you’re comparing options, the specs that look boring tend to decide whether you’ll keep using it or toss it in a drawer.
1) Holding strength vs. real-world “shear”
Many magnets feel strong when you pull straight off, but slip when the flashlight weight pulls sideways. That sideways movement is the usual failure mode, especially on vertical panels.
According to NIOSH, maintaining stable work conditions and good task lighting helps reduce errors and incidents in many work settings, which is part of why a secure mount matters more than people think.
2) Surface compatibility
- Painted steel: usually works well, but wax, dust, and oil reduce grip
- Stainless steel: often works, but some stainless is weakly magnetic
- Aluminum/plastic: needs a steel plate or an alternate mount method
- Curved surfaces: smaller magnets slip more, larger bases spread load better
3) Flashlight fit and balance
A heavy light in a loose clamp creates drift. A tight clamp that crushes rubber armor can damage the light over time. Aim for a holder that matches your body diameter and keeps the center of mass close to the mount.
4) Aim adjustment
If you regularly work in tight spaces, prioritize a ball joint or swivel. If you mostly need “point here and forget it,” a fixed ring holder feels more solid.
Quick self-check: which setup do you need?
If you answer these honestly, you’ll narrow choices fast.
- I work on vehicles or steel equipment → magnetic base with swivel is usually enough
- I work around vibration (machines, trailers, generators) → wider magnet base, fewer joints, add a safety lanyard
- I work on aluminum ladders/boats/toolboxes → mount that includes a steel plate, or consider clamp/strap options
- I need precise aim inside panels → ball joint or short gooseneck, but keep the light weight moderate
- I swap flashlights often → adjustable clamp beats a fixed-size ring
A small but telling sign: if your current solution is “stick the flashlight tailcap magnet wherever,” you’re probably fighting aim control. A dedicated holder fixes that by controlling angle and weight distribution.
Installation and use: a practical workflow that avoids slip-offs
You don’t need a complicated process, but a couple habits make a big difference.
Step 1: Clean the contact area
Wipe the mounting spot and the magnet face. Dust acts like tiny ball bearings, and oily residue invites slow sliding. In shops, a quick degreaser wipe often changes everything.
Step 2: Decide your “failure direction”
Ask where the light would fall if it slips. Avoid positioning over delicate parts, faces, or glass. If you’re working overhead, consider adding a short tether as backup.
Step 3: Set angle, then load-test
After aiming, lightly tap or shake the surface to simulate real movement. If it creeps, change to a flatter spot, reduce extension, or rotate the magnet so more surface area contacts.
Step 4: Protect surfaces when needed
Some magnets can mar paint if grit gets trapped. If you care about finish, use a mount with a rubberized base, and keep it clean. Avoid thick padding that reduces holding force.
Choosing the right mount: a simple comparison table
Use this as a quick filter, not a hard rule, because your flashlight weight and surface condition still decide the final result.
| Mount type | Best for | Tradeoffs | Buyer cue |
|---|---|---|---|
| Magnetic base + clamp | General garage/workshop use | Clamp can loosen under vibration | Look for wide jaws and solid pivot |
| Fixed ring holder | One flashlight used daily | Less flexible sizing | Match tube diameter closely |
| Gooseneck magnetic mount | Hard-to-aim spaces | Can wobble with heavier lights | Shorter neck = more stable |
| Magnetic base + steel plate kit | Non-magnetic surfaces | Plate placement becomes permanent-ish | Choose strong adhesive or screw option |
Common mistakes and safety notes (worth reading)
Most “this mount is junk” complaints trace back to a mismatch between magnet, surface, and how the light is loaded.
- Relying on magnet pull strength only: sideways slip is the real test
- Mounting on dirty or oily metal: expect creep and sudden drops
- Overextending a gooseneck: leverage increases, grip effectively decreases
- Ignoring heat: near engines or hot equipment, adhesives and some plastics may weaken
- Placing near sensitive electronics/media: strong magnets can interfere in some cases, keep distance if you’re unsure
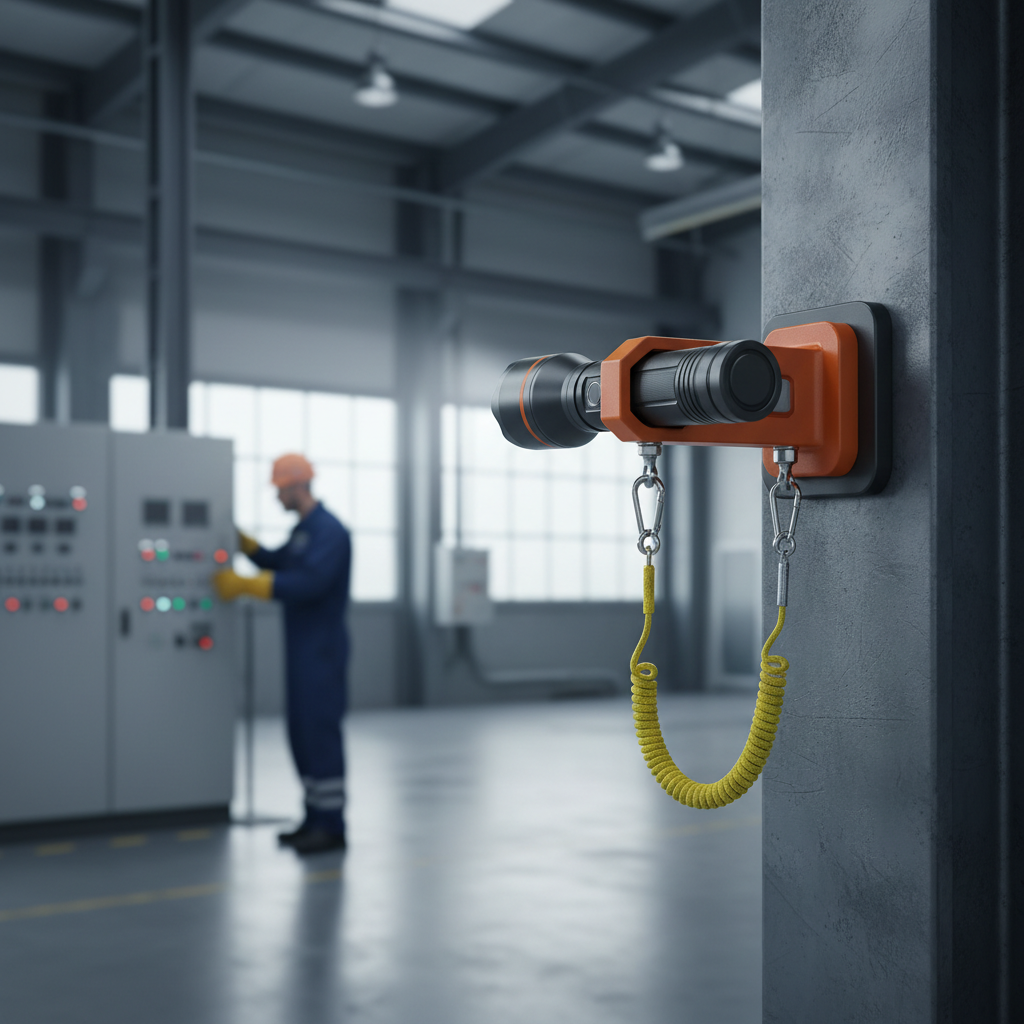
If your work involves electrical panels, moving machinery, or overhead work, a falling light can become a safety issue. Use conservative positioning and consider checking your workplace safety guidance; according to OSHA, employers and workers should address hazards proactively, and stable lighting setups can be part of that bigger picture.
Medical or health claims don’t apply here, but basic safety does. If you’re uncertain about clearances, heat exposure, or electrical safety, it’s reasonable to ask a supervisor or qualified professional.
Key takeaways (so you can decide fast)
- Buy for surface + vibration, not just magnet strength claims
- Fit matters: correct flashlight diameter prevents sag and drift
- Clean contact beats “stronger magnet” more often than expected
- Angle control comes from good joints, but fewer joints usually means more stability
Conclusion: a mount is only “good” if it stays put in your real job
A magnetic flashlight holder mount is a small tool that pays off when it matches your surfaces, your flashlight weight, and how much movement happens around the work. If you want one action step, clean your intended mounting spots and test for sideways slip before trusting it over anything fragile or risky.
If you’re shopping next, pick one mount style that fits your most common scenario, then add a second option only if you truly switch environments, like garage steel one day and aluminum or composite surfaces the next.
FAQ
What is the best magnetic flashlight holder mount for a car hood?
Most people do well with a magnetic base and a swivel clamp, because it grips painted steel and lets you aim into the engine bay. Clean the hood underside and magnet face to reduce sliding.
Will a magnetic mount work on stainless steel?
Sometimes. Many stainless alloys are weakly magnetic, so holding power may feel inconsistent. Test a small magnet first; if it barely sticks, use a steel plate or a different mounting method.
How do I stop a magnetic flashlight mount from sliding down a vertical surface?
Reduce sideways load by moving the base to a flatter spot, shortening any gooseneck, and keeping the flashlight closer to the magnet. A rubberized base can help, but thick padding may reduce grip.
Can magnets damage my car paint?
They can scratch if grit is trapped between the magnet and paint. Keeping both surfaces clean usually prevents this, and rubber-coated bases lower risk, though they may slightly reduce holding power.
Do I need a steel plate for a magnetic flashlight mount?
You’ll likely need one on aluminum, plastic, fiberglass, or powder-coated surfaces where the magnet can’t get direct contact. If the plate uses adhesive, choose placement carefully because removal can be messy.
Is a gooseneck mount stable enough for a heavy flashlight?
It depends on vibration and how far you extend it. Heavy lights and long extensions tend to wobble or droop, so a shorter gooseneck or a swivel joint with a tighter clamp often works better.
How strong should the magnet be for shop use?
Rather than chasing a single number, look for a wider contact area and a design that resists shear. In practice, clean surfaces and good weight balance matter as much as raw pull strength claims.
If you’re trying to build a hands-free lighting setup that feels stable day after day, it can help to map your most common surfaces, flashlight sizes, and vibration levels first, then choose a mount style that matches that reality instead of buying the strongest magnet on paper.